

Business Online Banking Tutorials
Our business customers aren’t just dreamers, they’re doers! That’s why we created step-by-step guides for using ACH & Positive Pay, sending wires, and managing online users.

Automated Clearing House (ACH)
ACH is a network that facilitates electronic financial transactions, simplifying online payments for your business.
Wire Transfers
Wire transfers offer a fast way to move funds electronically. Some funds may be processed on the same day, making them a convenient and safe way for your business to transfer funds.

Check Positive Pay
Check Positive Pay offers your business protection against check fraud by ensuring only the checks you issue clear your account.
User Management
User Management allows company administrators to add users and modify user permissions within Business Online Banking.
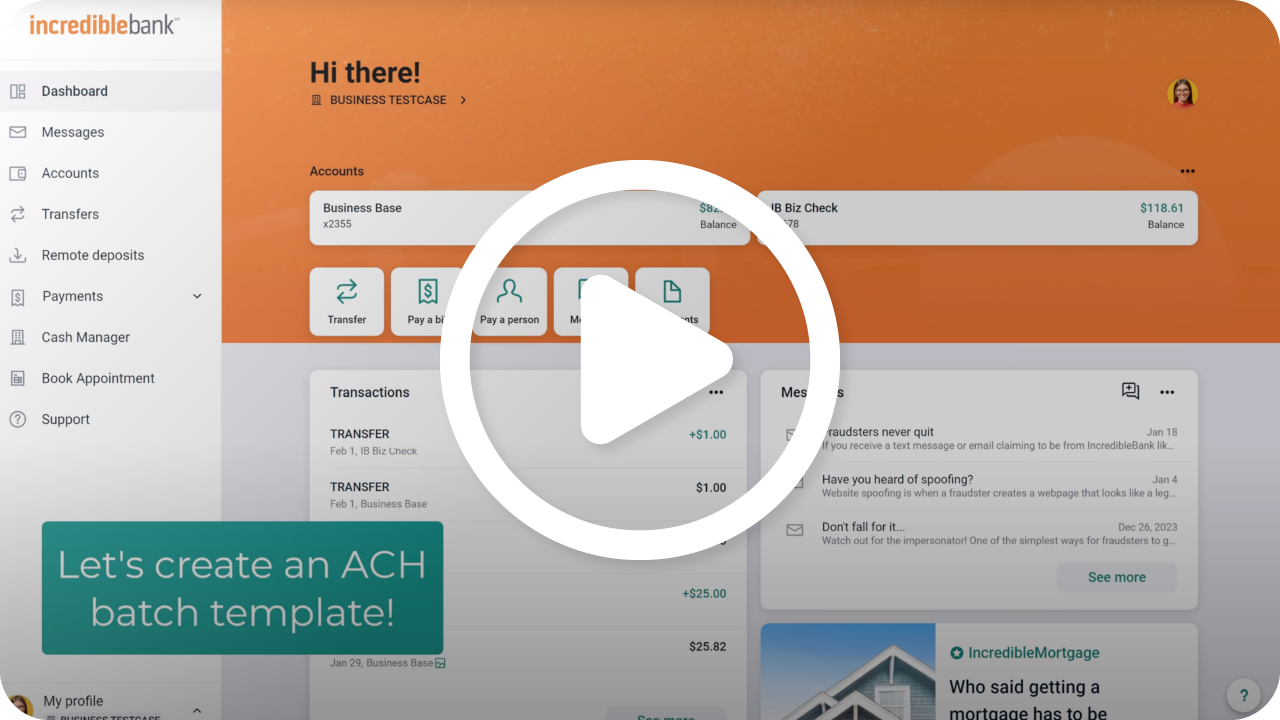
Automated Clearing House (ACH)
Creating an ACH Batch
- From the dashboard menu, select ACH. (Depending on your settings, you may need to select Payments then ACH.)
- Select Create ACH. (In the mobile app, select Create a batch.)
- Enter the batch name and select the company to originate from.
- Complete the required SEC & Entry description fields.
- The Discretionary data field is optional.
- Click Add recipients.
- Enter the recipient’s name, amount, and account information.
- Click Optional fields to enter an ID number or addenda if applicable.
- Check Prenote to create a separate $0 payment for account validation.
- Select Hold to prevent this transaction from processing with the rest of the payment.
- Too add another recipient, click +Add another recipient (or - if on mobile app - click "Save and add another")
- If done adding recipients, click Save recipient (or - if on mobile app - click "Add recipient.")
- Click the “Delete" (trash can) icon to remove the recipient if needed.
- Click Create batch. (In the mobile app, click Back to Create a batch.)
- Review your confirmation and click Done.
- Your batch template is then ready to be initiated.
Creating an ACH Batch by Uploading a NACHA File (not available on the mobile app)
- Select Upload ACH.
- Drag and drop your file here or click Browse.
- Click Upload.
- Review your confirmation.
- Please review your file and upload again if it shows an error status.
- Your file will appear in the active batch area.
- Select the file and click Edit to change the name.
Initiating a Payment
*NOTE: If dual control is enforced, a second user will need to complete this step.
- From the dashboard menu, select ACH. (Depending on your settings, you may need to select Payments then ACH.)
- Select the batch template to initiate.
- Select the checkmark boxes icon if you have multiple templates to initiate at once. (Not available in the app)
- Click Review and initiate.
- Choose your offset account, frequency, and effective date.
- Check the option to reset template amounts to $0.00 after processing.
- Select Initiate.
- Enter your password or 2FA code to authenticate.
- Click Done.
*NOTE: The status will show “Initiated” and will return to a “Ready” status after processing.
Uninitiating a Payment
- From the dashboard menu, select ACH. (Depending on your settings, you may need to select Payments then ACH.)
- Select the batch to uninitiate and then click Uninitiate.
- Confirm Uninitiate.
- The batch template is then back to a "Ready" status and will not process.
Modifying or Deleting a Payment
- From the dashboard menu, select ACH. (Depending on your settings, you may need to select Payments then ACH.)
- Select a batch.
- To edit the batch, select Edit (or - in the mobile app - the pencil icon), change the necessary details, click Save, then Done.
- To delete the batch, select the ellipsis (3 horizontal dots), then click Delete and confirm Delete.
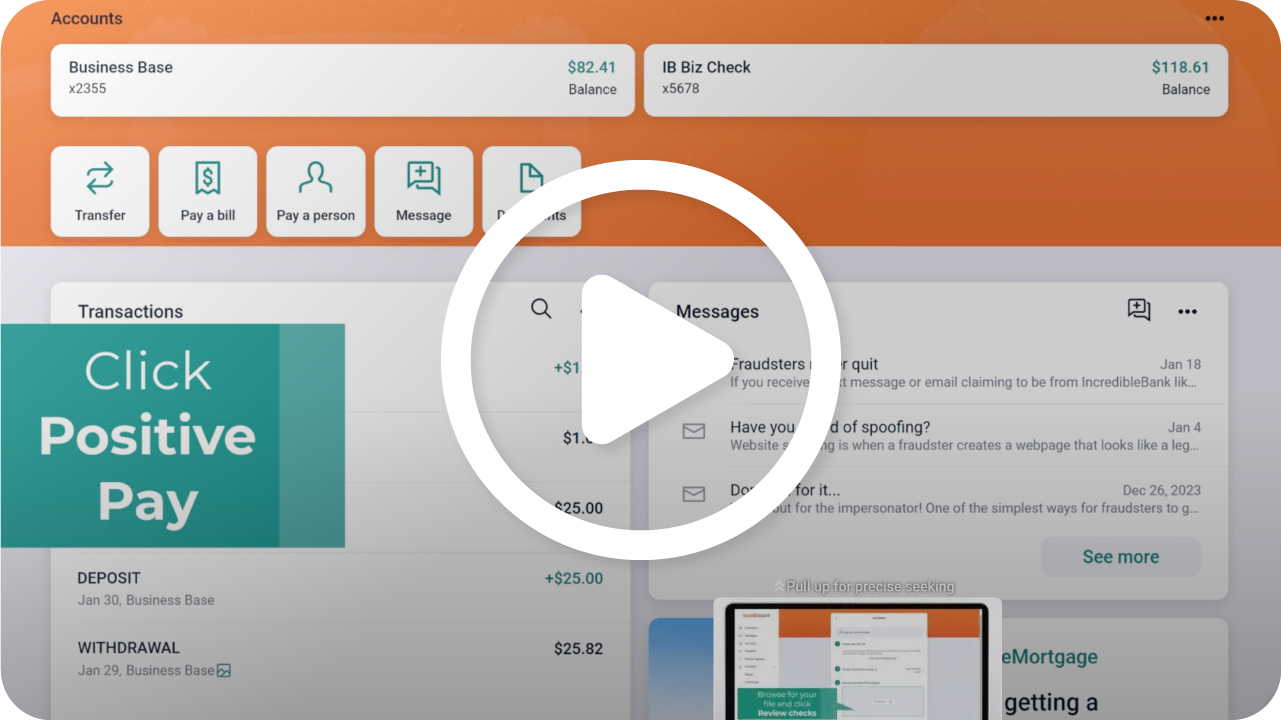
Check Positive Pay
Entering Your Checks (Not available on the mobile app)
- From your dashboard menu, select Positive Pay. (Depending on your settings you may need select Payments then Positive Pay.)
- Click Add checks.
- Select Add your checks manually.
- Choose the account the checks were written from.
- Enter the check number, amount, payee name, type, and date.
- Select Debit if entering a new check.
- Select Void to invalidate a previously entered check.
- Add another check or click Review to continue.
- Review the details, click to edit, or add another check if necessary.
- Click Approve when done.
- Select Approve to confirm.
- Click Done.
- The file will appear here as “Pending.”
- Click Review & approve.
- Double check your entries and click Approve.
- Click Done.
Uploading a Check File (Not available on the mobile app)
- If you haven’t already, select Manage Templates and the “+” to create an upload template that matches your file format.
- Select Add Checks.
- Choose your template and the account the checks were written from.
-
Drag & drop or browse for your file and click Submit.
-
Review the items and click Approve.
-
Click Done or Upload another if you have more items.
-
The file will appear on your screen as “pending.”
-
Click Review & approve.
-
Review the details and click Approve.
-
Click Done.
Decisioning Your Positive Pay Exception Items
- From your dashboard menu, select Positive Pay. (Depending on your settings you may need select Payments then Positive Pay.)
- Select Work check exceptions. (In the mobile app, select Check Exceptions from the toggle on the top of your screen.)
- Select the correct account at the top of your screen.
- Review the item details & reason for exception. Click on the check number to view an image of the check.
- Make your decision: Check the box to Pay or leave it blank to Return.
- Click Submit when done.
Wire Transfers
Creating a Wire
- From your dashboard menu, select Wires. (Depending on your settings, you may need to select Payments, then Wires.)
- Select Create wire.
- Enter a Wire name and Select account to debit.
- Click Add Creditor. This is your wire recipient.
- The default wire type is Domestic. Select International if you are sending a wire to a Creditor outside of the United States.
- Enter the creditor’s name, account number, town name, country subdivision, post code, and country.
- Click Show optional fields to enter additional (optional) address fields.
- Under Creditor agent, use the search function to find and pre-fill the routing number, institution name, and institution address for the creditor's financial institution. If the creditor agent is not listed or you are entering an international wire, enter the Creditor agent information manually.
- Reference beneficiary is an optional data field where you can put a unique identifier that will help the Creditor match the wire they receive with the wire you sent. If you leave it blank, we will put "NOTPROVIDED" in that field.
- If the wire needs to pass through another domestic financial institution before arriving at the Creditor's financial institution, unselect Same details as Creditor Agent under Instructed Agent. (Note: When entering an international wire in the mobile app, there is nothing to unselect) Then, use the search function to find and pre-fill the instructed agent information. If the wire does not need to pass through another domestic financial institution, leave Same details as Creditor Agent selected, or - in the mobile app for an international wire - leave instructed agent fields blank.
- If creating an international wire and the wire needs to pass through another international financial institution before arriving at the Creditor's financial institution, select Use intermediary agent and manually enter the intermediary agent information. Otherwise, leave Use intermediary agent unselected.
- Click Save.
- In the Amount field, enter the (USD) amount of your wire.
- Required: In Remittance info field, click Add notes to enter a purpose of the payment and any information that should accompany the wire, such as invoice numbers, etc. To avoid processing delays, be very specific.
- If you would like to save the wire details for future use, select Save as template.
- Click Create wire (or Submit in the mobile app) and Done.
- If you created a one-time wire, it will appear in the "Active" area in a "Ready" status. If you saved the wire as a template, it will appear in the "Templates" area in a "Ready" status.
- Now, someone with wire initiation authority needs to initiate the wire.
Initiating a Wire
- From your dashboard menu, select Wires. (Depending on your settings, you may need to select Payments, then Wires.)
- Under "Active" or "Templates" select the account from which the wire is being sent.
- Find the wire in a "Ready" status and click on it.
- Click Review and initiate.
- Select Initiate.
- Enter your password or 2FA code to authenticate.
- Review your confirmation and click Done.
- The wire should now appear in an "Initiated" status. (NOTE: If dual control is enforced, the wire will appear in an "Approval" status. A second user will need to transmit the wire to change the status to "Initiated.")
- Once in "Initiated" status, the wire will be sent to the bank for processing.
Click History to see processed wire activity. Click Templates to view wire templates. Select a template to review, edit, and initiate a new wire. Toggle between accounts to see other wires and templates.
User Management
Creating a New User
- This feature is not available on the mobile appl it's only available in online banking accessed via a web browser.
- From within online banking, locate the dashboard menu. This is the list of options on the left side of your screen.
- From the dashboard menu, select your username at the very bottom.
- Select Manage business
- Click Create User.
- Add the Name, Email, and edit the user role, then click Create User.
- User: Custom permissions and account access. Cannot manage other users.
- Viewer: View-only access to specific accounts.
- Admin: Custom permissions, account access, and user management.
- Enter your password to authenticate.
- Click Select to choose accounts to activate for the user.
- Click Enable All to give the user access to all accounts, or toggle on individual accounts.
- Click Done.
- Click Enable Accounts.
- If no additional permissions need to be set, click Send Email Invite.
- The user will receive an email from IncredibleBank with a link to establish their credentials.
- The user will appear as pending until they create their credentials.
Setting Permissions for Users
- This feature is not available on the mobile appl it's only available in online banking accessed via a web browser.
- From within online banking, locate the dashboard menu. This is the list of options on the left side of your screen.
- From the dashboard menu, select your username at the very bottom.
- Select Manage business
- Click on the user you want to edit.
- Click Set Permissions.
- Toggle switches to turn on permissions.
- Some permissions will allow you to Show Options for additional settings.
- Click on the username to go back.
- Click on an active account to edit account-level permissions.
- Click on the username to go back.
Unlocking a User
- Locate the dashboard menu. If you're on the website, this is the list of options on the left side of your screen. If you're in the mobile app, click the 3 horizontal lines in the upper left corner and the dashboard menu will slide out from the left.
- From the dashboard menu, select your username at the very bottom.
- Select Manage business.
- Select the locked user.
- Click Unlock in the gray banner at the top of the screen.
- Once unlocked, the user has three more attempts to log in with their existing password.
- Click Send Password Reset Link if the user needs to reset their password.
- Click I’m Done.
Restricting or Removing a User
- Locate the dashboard menu. If you're on the website, this is the list of options on the left side of your screen. If you're in the mobile app, click the 3 horizontal lines in the upper left corner and the dashboard menu will slide out from the left.
- From the dashboard menu, select your username at the very bottom.
- Select Manage business.
- Click on the user.
- Click on the three horizontal dots by the customer's name.
- Click Edit User to edit their name, role, or email.
- Click Hold Account Access to temporarily disable their account access.
- Click Send Password Reset Link to send a new password reset link.
- Click Delete User to permanently remove the user's access.
