How to Avoid AI Voice Scams
Learn how scammers use AI to clone voices and and what steps you can take to protect yourself from vishing and fraud.


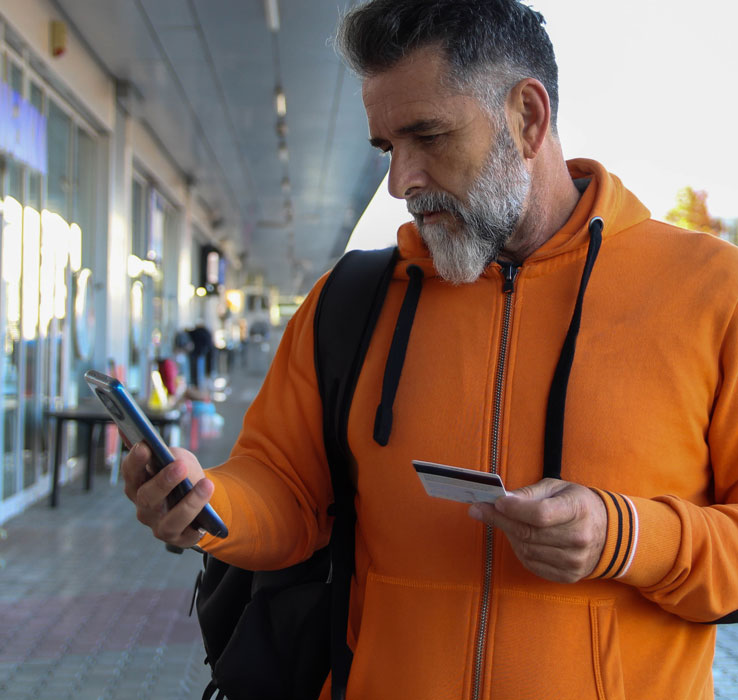
The IncredibleBank mobile app gives you more than account access—it gives you control. Move money, manage your accounts, monitor your financial health, and bank securely from just about anywhere.

Send money with Zelle®, pay bills, and use your mobile wallet for secure, everyday purchases right from your phone.
View all your accounts in one place, set alerts, and manage your money with tools designed to help you stay informed.

Use InBalance Financial Health to monitor your credit, track subscriptions, and stay ahead of potential risks.
Log in with Face ID or Touch ID, control your cards, and customize your dashboard for a banking experience that works for you.
Bank anytime, anywhere with tools that help you move money, manage your accounts, and stay in control of your financial life.
Already downloaded the app? View the Mobile Banking User Guide.
*There is no fee from IncredibleBank. Connectivity and usage rates may apply. Contact your wireless provider for more details.
.jpg)